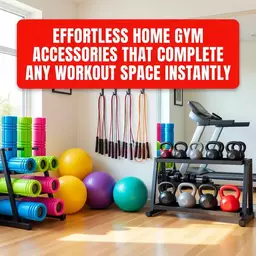
Tired of working out in spaces that lack motivation and comfort? Building a home gym doesn’t have to be a costly endeavor or a complicated process. Here are 7 practical DIY ideas to help you craft your ideal workout space without breaking the bank, starting with the essential flooring that sets the foundation for your gym.
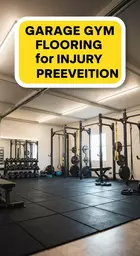
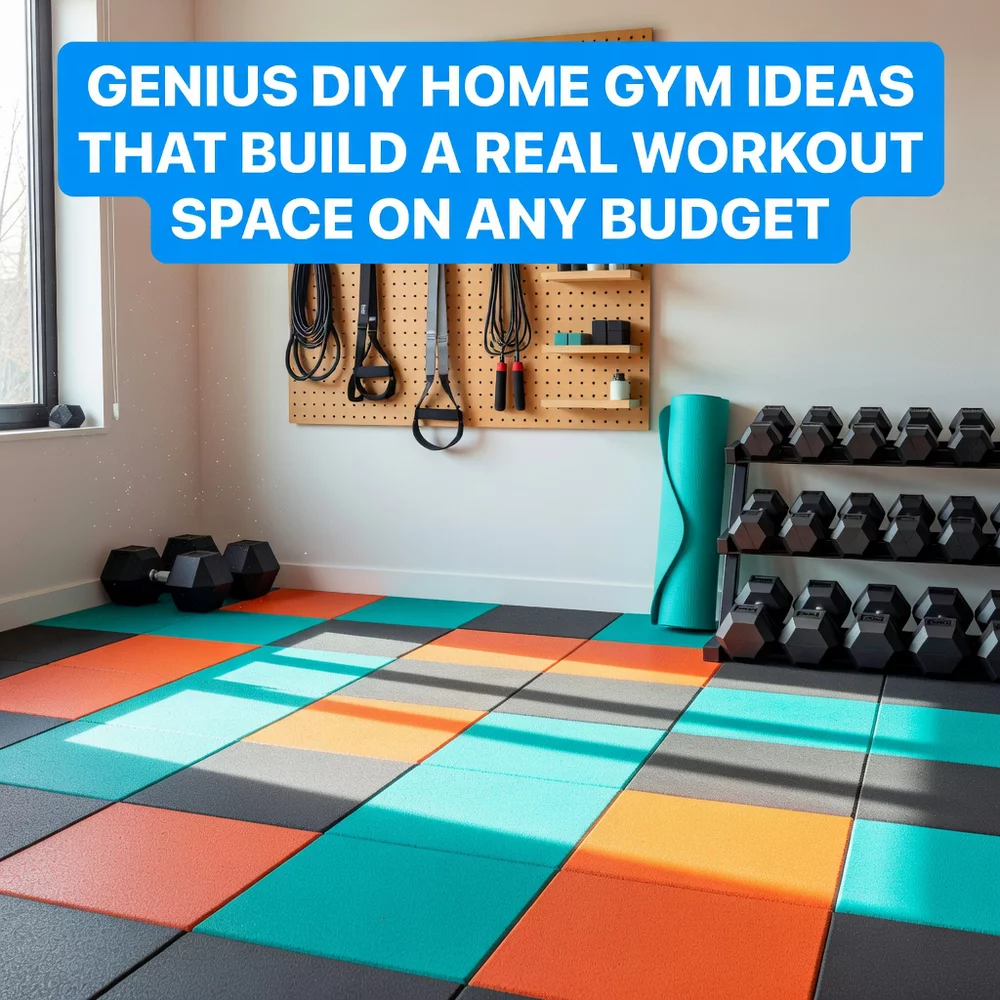
DIY Home Gym Rubber Floor Tile Install That Anyone Can Do in an Afternoon

Transform your workout space with cushioned flooring for comfort and safety.
As an Amazon Associate I earn from qualifying purchases. Affiliate links may earn me a commission at no extra cost to you.
Why DIY Home Gym Rubber Flooring Matters: Installing rubber flooring is crucial for creating a comfortable and safe workout environment. These interlocking tiles are perfect for DIY enthusiasts because they offer easy installation and a cushioned surface that reduces impact on joints, helping to prevent injuries during workouts.
One detail that often gets overlooked is planning the layout before you start laying tiles. Without a clear plan, you might end up with awkward gaps or misaligned edges. For instance, starting from the center and working outwards can ensure a more polished look.
- ★Measure your space accurately to purchase enough tiles.
- ★Consider using a utility knife for precise tile cuts around corners.
- ★Plan your layout to avoid gaps and ensure a seamless finish.
Check out the Interlocking Foam Exercise Mat Set, perfect for adding that essential cushioning to your gym floor!
⭐ Top Products for Rubber Flooring
Interlocking Foam Exercise Mat Set
This foam mat set offers excellent shock absorption, making it ideal for your gym flooring.
View on Amazon →Interlocking Foam Exercise Tile Mat
This durable tiled mat provides excellent cushioning, suitable for various workouts at home.
View on Amazon →Garage Floor Mat for Workouts
This heavy-duty mat is perfect for a non-slip workout surface that protects your floors.
View on Amazon →💡 Quick Tips:
- Plan Your Layout: Start from the center and work outwards for a polished look.
- Cut with Precision: Use a utility knife for clean edges around corners.
- Measure Twice: Ensure accurate measurements to avoid purchasing excess tiles.
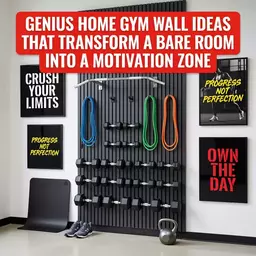
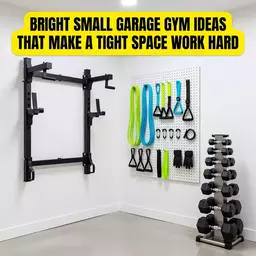
DIY Home Gym Pegboard Wall That Mounts in Under an Hour for Under Thirty Dollars
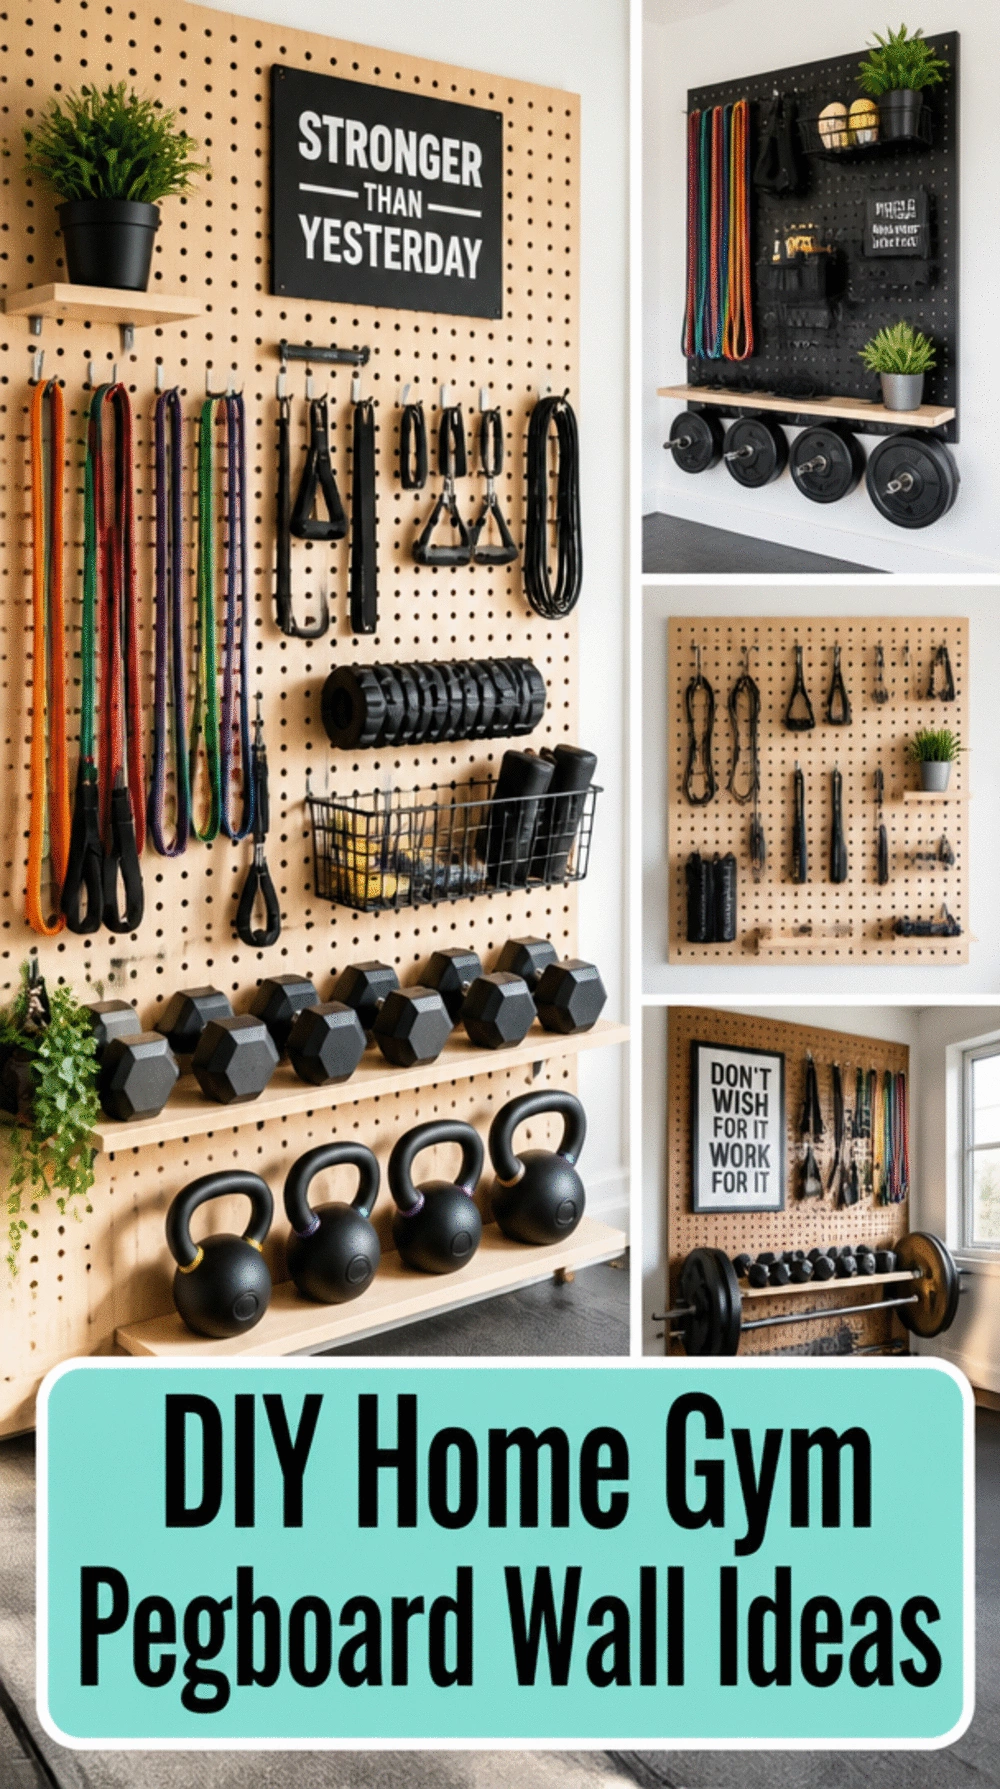
Transform your workout space with easy-to-mount pegboards!
Why a Pegboard Wall is Essential: Looking for a cheap and easy way to organize your gym gear? A pegboard wall is a fantastic solution for storing equipment, maximizing vertical space, and evolving with your workout routine. You can customize it to fit all your gear while keeping everything accessible.
Where most people get stuck is underestimating the importance of using the right hooks for different equipment. For instance, using a heavy-duty hook for your kettlebells instead of a lightweight one can save you from damaging your wall and your gear. A quick visit to your local hardware store can reveal budget-friendly materials that fit your needs perfectly.
- ★Measure your wall height and width to ensure the pegboard fits perfectly.
- ★Use color-coded hooks for quick identification of equipment types.
- ★Avoid mounting heavy items too high; keep frequently used gear within easy reach.
💡 Quick Tips:
- Choose the right hooks: Select heavy-duty hooks for larger equipment to ensure safety.
- Plan your layout: Arrange frequently used items at eye level for easy access.
- Consider pegboard size: Measure your wall space to find the perfect fit for your pegboard.
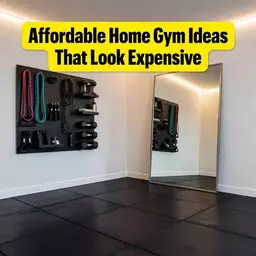
DIY Home Gym Mirror Wall Using Individual Panels Aligned Without a Frame
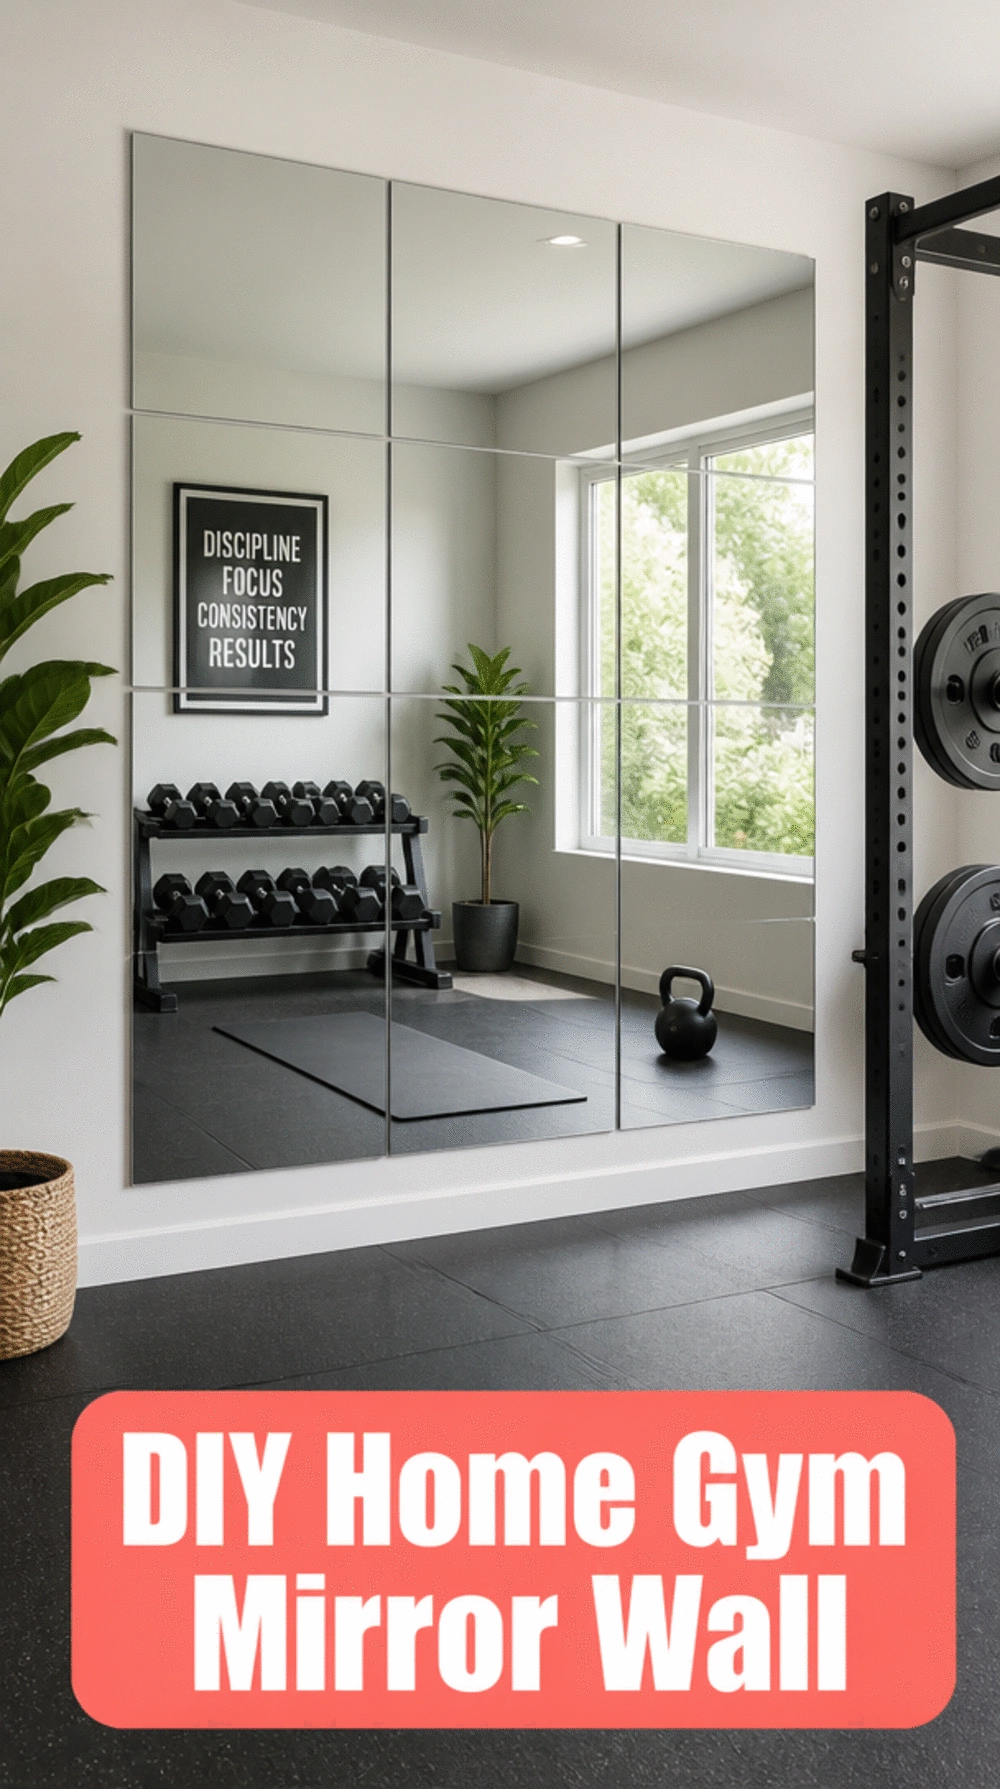
Create a stylish gym space that feels larger and more functional.
The Impact of a DIY Mirror Wall: Mirrors are a game changer for your home gym. Not only do they enhance the aesthetics, but they also make your space feel larger and allow you to monitor your form during workouts. Using individual panels gives you flexibility in design and easier installation.
Where Most People Get Stuck is in the installation height and positioning of the mirrors. Many forget to consider the lighting, which can drastically affect how the mirrors reflect the room. If positioned poorly, they may not achieve the intended effect of expanding the space or enhancing visibility during workouts.
- ★Install mirrors at eye level for optimal usage and aesthetics.
- ★Align individual panels carefully, ensuring consistent gaps for a clean look.
- ★Avoid common mistakes, like not securing mirrors properly to prevent accidents.
⭐ Top Products for Rubber Flooring
Square Glass Mirror Tiles Set
Create a visually appealing workout space with stylish and functional mirror tiles.
View on Amazon →Acrylic Mirror Sheet for Walls
This flexible mirror sheet is ideal for creating a safe gym environment.
View on Amazon →💡 Quick Tips:
- Choose the Right Panels: Opt for lightweight mirror panels to simplify installation.
- Secure Positioning: Use adhesive or mounting hardware designed for mirrors to ensure stability.
- Maximize Lighting: Place mirrors near windows to enhance natural light and create a bright gym vibe.
DIY Home Gym Dumbbell Rack Built from Timber That Costs Under Fifty Dollars
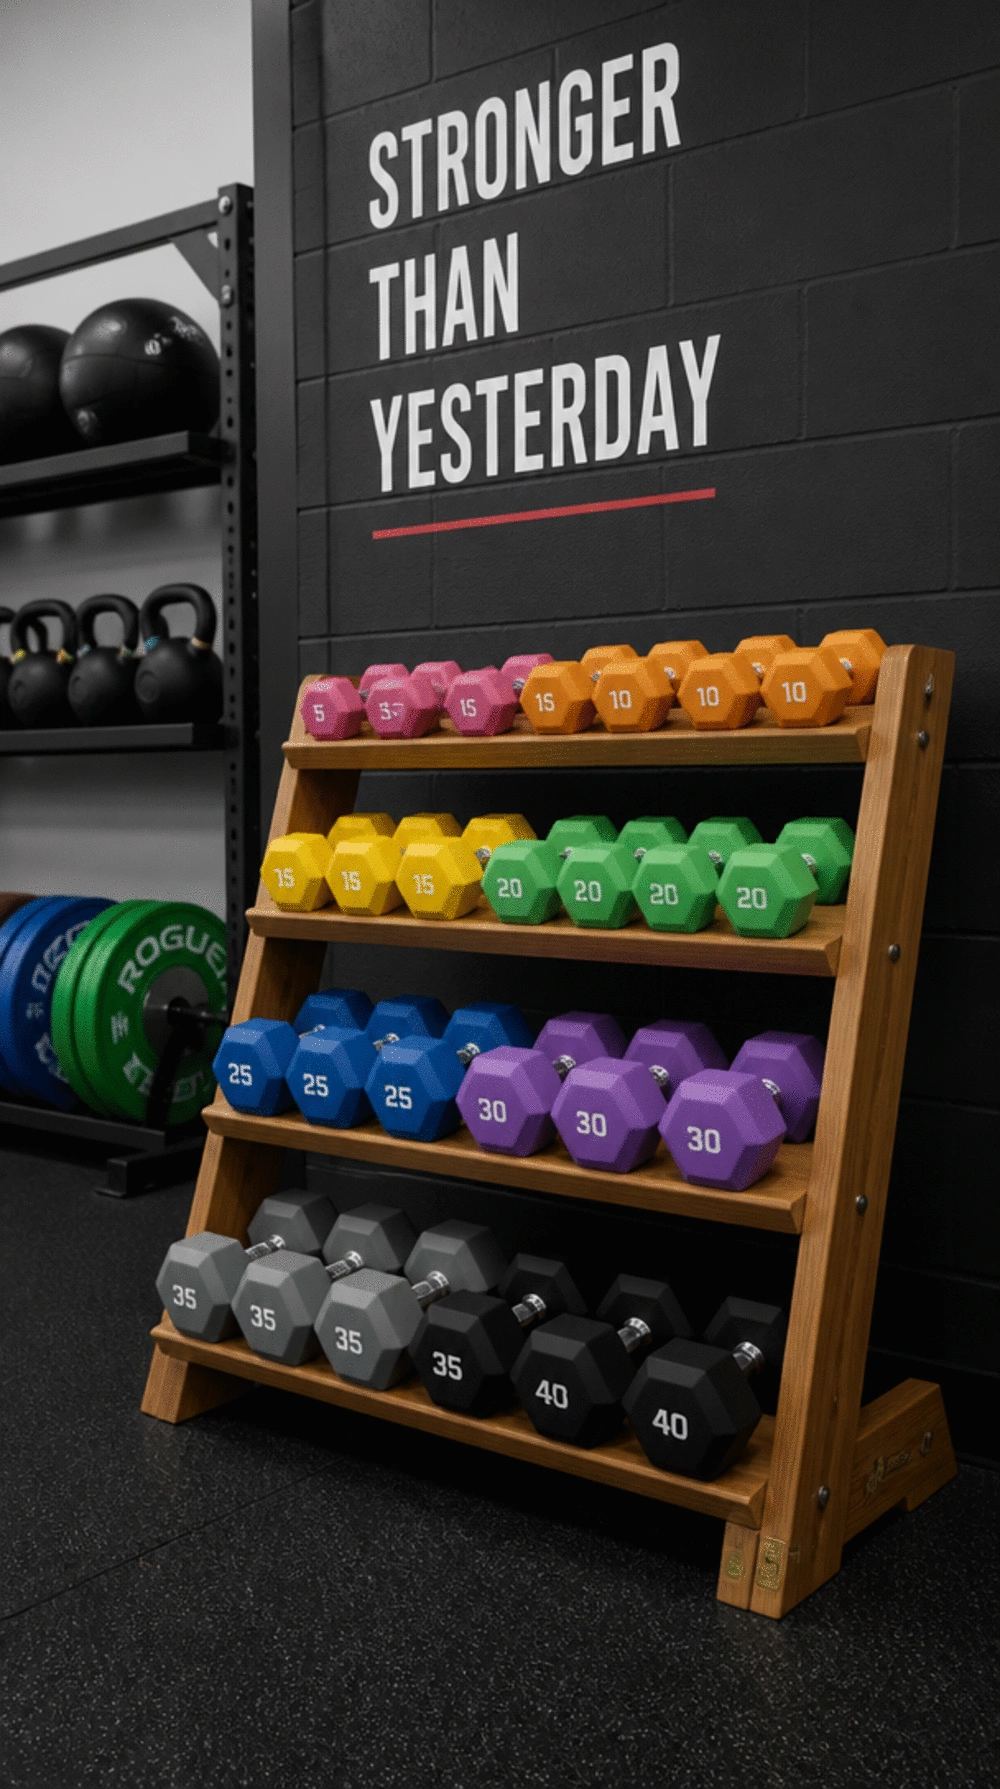
Create a stylish and organized dumbbell storage solution.
Understanding DIY Dumbbell Racks: A dedicated storage solution for your dumbbells not only keeps your space organized but also enhances safety. Building a dumbbell rack from timber allows you to customize dimensions to suit your needs while saving money compared to pre-made options.
What People Rarely Consider: It's easy to overlook the importance of selecting the right type of wood for durability. Many DIYers make the mistake of using cheaper materials that can't withstand the weight—consider using sturdy hardwood like plywood for a lasting solution.
- ★Follow a simple cut list for efficient assembly of your rack.
- ★Consider weight limits to ensure your rack is safe and secure.
- ★Finish the wood with a sealant to protect against moisture and wear.
⭐ Top Products for Rubber Flooring
Adjustable Dumbbell Rack for Home
This dumbbell rack maximizes organization, keeping your weights neat and easily accessible.
View on Amazon →5-Tier Dumbbell Rack for Storage
This heavy-duty rack ensures your dumbbells are stored securely and within reach.
View on Amazon →Compact Dumbbell Storage Rack
This compact rack saves space while keeping your weights organized and accessible.
View on Amazon →💡 Quick Tips:
- Select Quality Wood: Choose hardwood like plywood for durability and stability.
- Measure Your Space: Ensure the rack fits well in your designated workout area.
- Use Proper Joinery: Opt for screws or dowels for strong, secure connections during assembly.
You're building something truly functional and personal, which is incredibly rewarding. Every step, big or small, brings you closer to your ideal workout sanctuary. This journey isn't about instant perfection, but about creating a space that genuinely serves your fitness goals sustainably.
💡 Simple Reminders:
- Focus on functionality first when planning your layout.
- Consider optimizing your layout to maximize every inch.
- Quality materials, especially for flooring, make a significant difference.
- Think about how your fitness accessories might evolve over time.
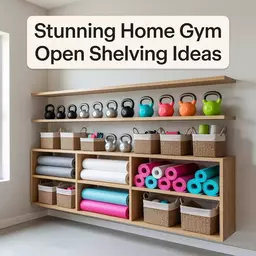
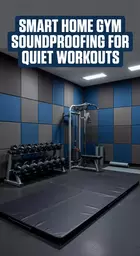
The DIY Home Gym Slat Wall Trick That Creates Storage and a Feature Wall Together
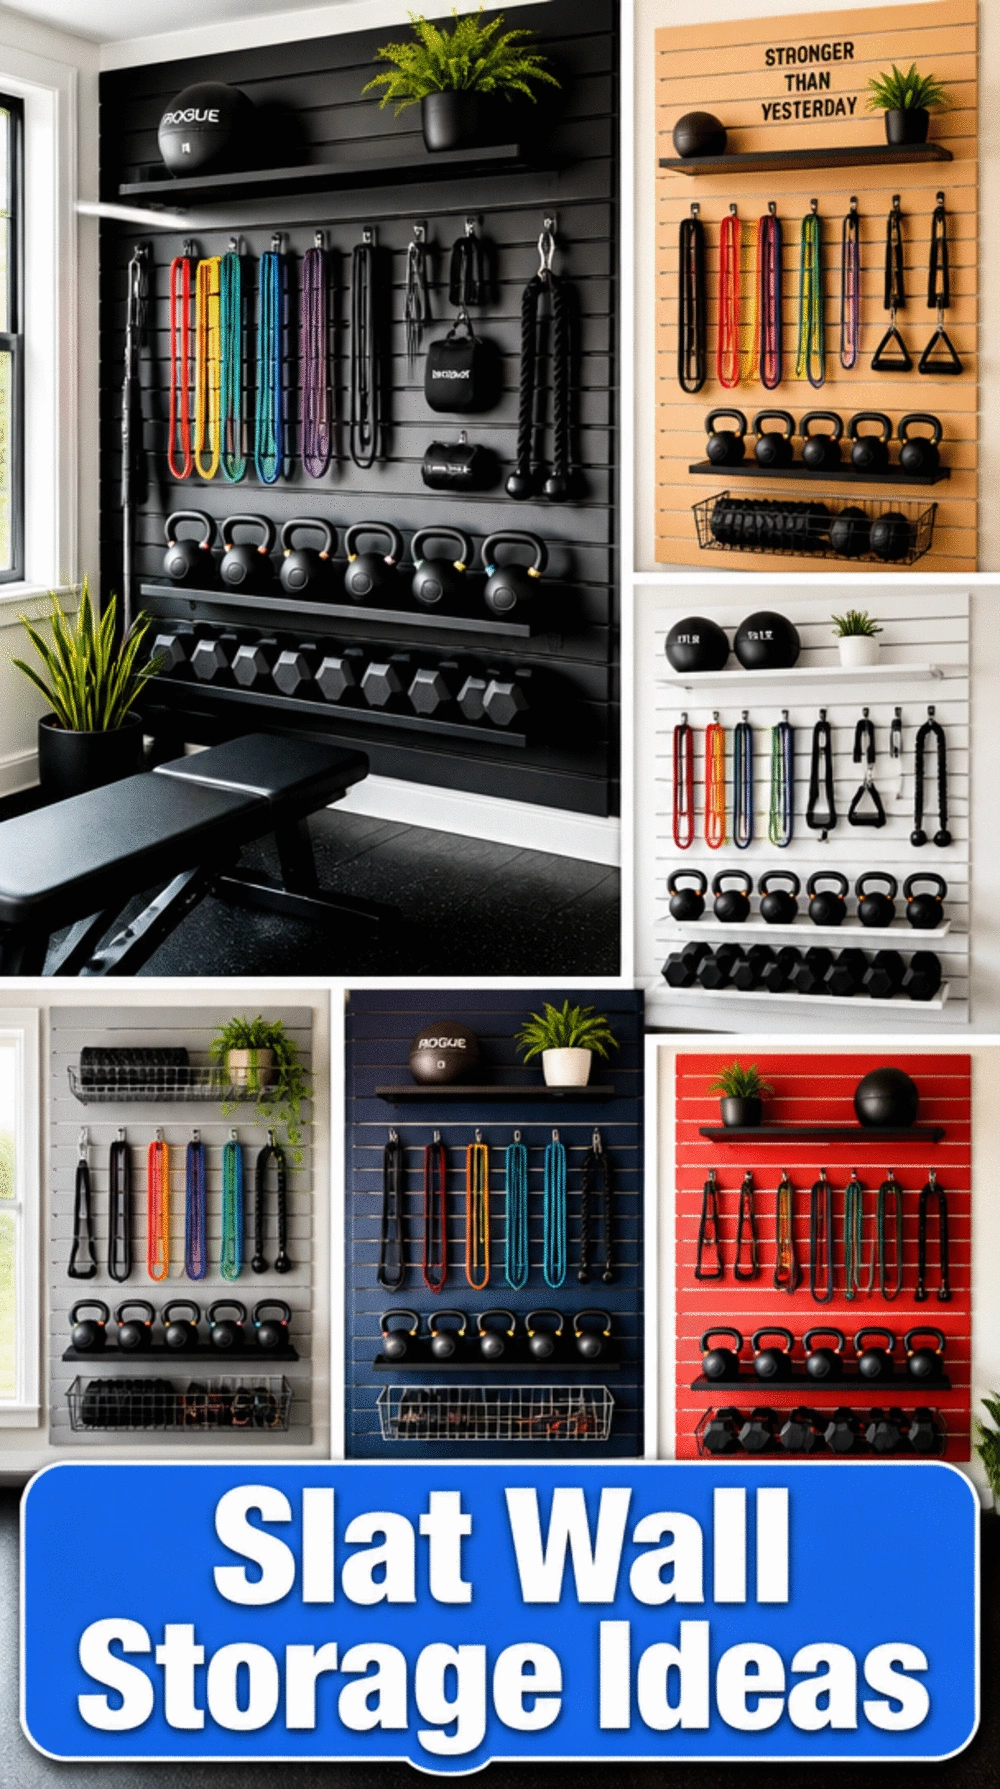
Create stylish storage solutions that elevate your workout space.
Understanding the DIY Home Gym Slat Wall: Transform your plain walls into functional works of art with a slat wall. These walls serve dual purposes: they offer stylish storage for your gym accessories while enhancing the aesthetic of your space. By customizing colors and finishes, you can create a look that reflects your personal style.
What people rarely consider is the height at which to mount the slat wall. Ideally, it should be positioned at eye level for easy access to your accessories. If it's too high or too low, you may find yourself struggling to reach items when you need them most.
- ★Select slats that match your gym's color scheme to keep the look cohesive.
- ★Use sturdy anchors to ensure your slat wall can support heavier equipment without risk.
- ★Avoid clutter by organizing accessories in a way that allows for quick access and visual appeal.
⭐ Top Products for Rubber Flooring
Adjustable Doorway Pull-Up Bar
This adjustable pull-up bar allows for a versatile workout while saving space in your gym.
View on Amazon →Heavy Duty Adjustable Pull-Up Bar
Enjoy a secure installation with this sturdy pull-up bar, perfect for serious workouts.
View on Amazon →💡 Quick Tips:
- Choose a color: Select slat colors that complement your gym decor for a cohesive look.
- Secure installation: Use heavy-duty anchors to ensure your slat wall can hold all your gear safely.
- Keep it organized: Arrange accessories for easy access, combining functionality with visual appeal.
DIY Home Gym Pull-Up Bar That Mounts Between Two Studs Without Special Tools
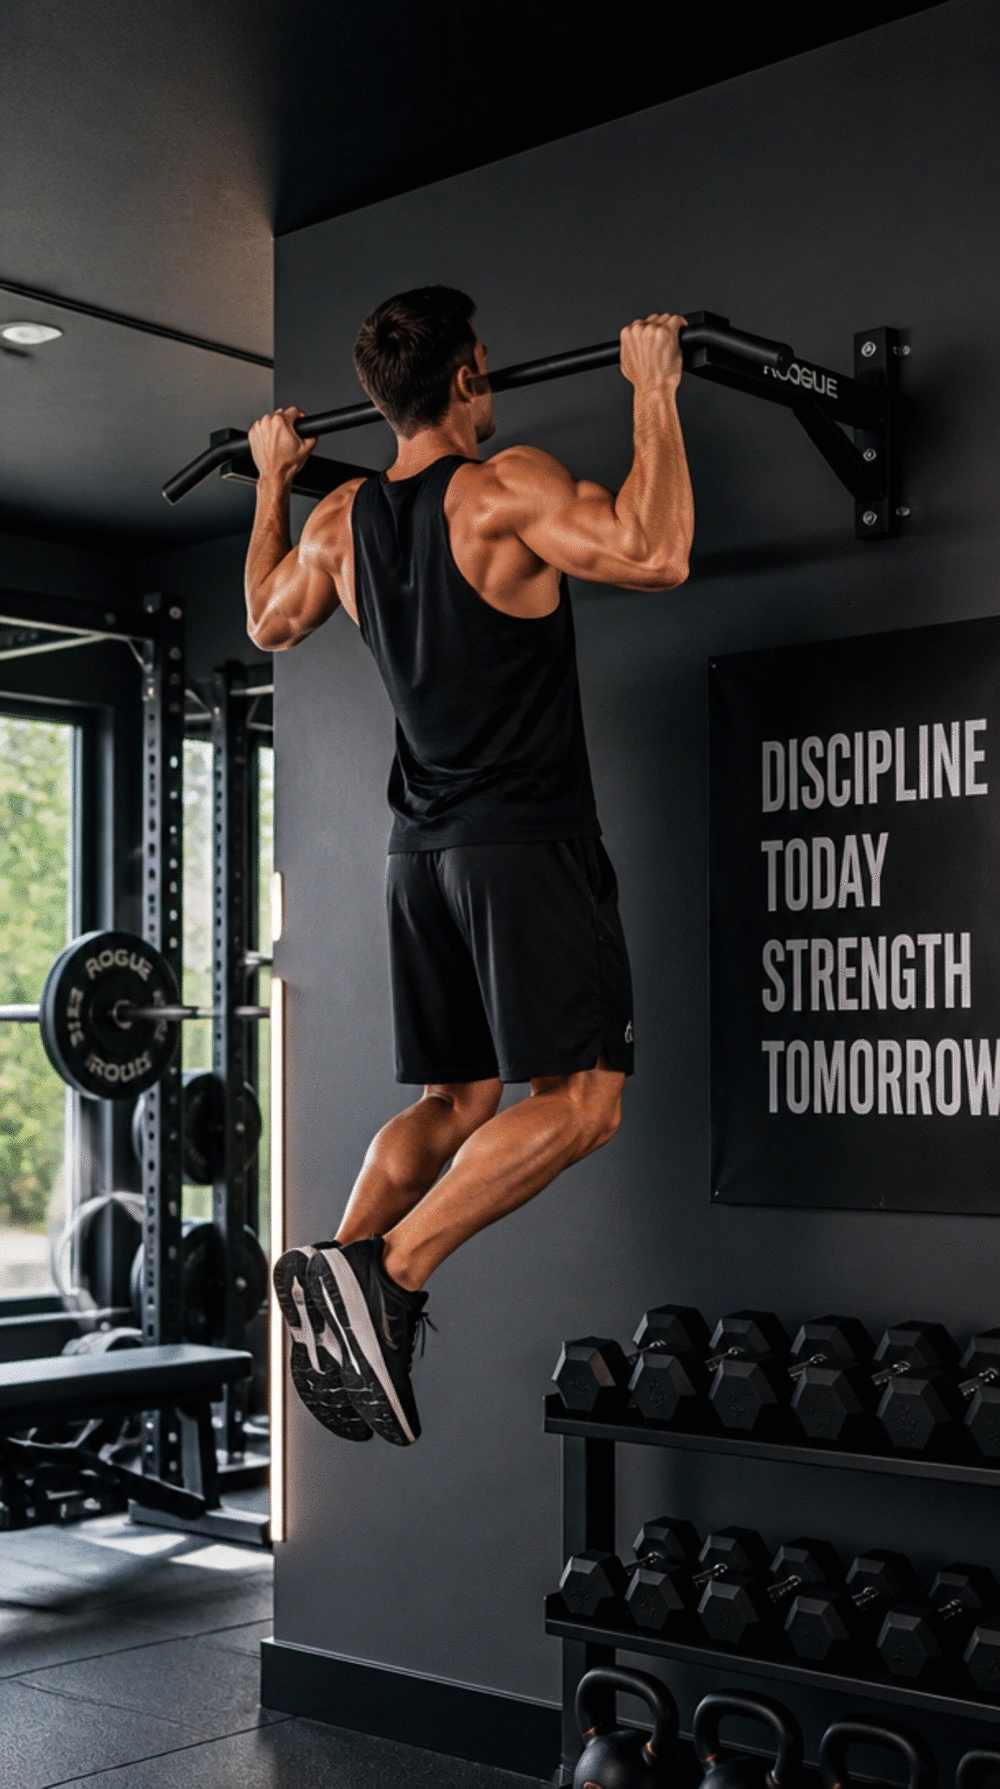
Elevate your upper body strength training with this DIY pull-up bar.
How a DIY Pull-Up Bar Enhances Your Workout: A pull-up bar is essential for a powerful upper body workout, allowing you to perform various exercises like pull-ups and chin-ups. Installing a wall-mounted bar between two studs maximizes space efficiency and is simple enough to do without special tools, making it a practical choice for any home gym.
What Often Gets Overlooked: Many DIYers forget to test wall stud locations before mounting their pull-up bar. This is crucial for avoiding accidents and ensuring maximum safety and performance during workouts. Always use a stud finder and double-check your measurements to guarantee a secure installation.
- ★Locate wall studs using a stud finder before installation for safety.
- ★Consider an adjustable pull-up bar for varied exercises and different heights.
- ★Ensure the bar is secured tightly to prevent any wobbling during use.
⚠️ A Common Slip-Up:
One mistake many people make is not ensuring their pull-up bar can support their weight. Always check the weight limit before purchasing and installing to avoid accidents.
⭐ Top Products for Rubber Flooring
Interlocking Foam Exercise Tile Mat
This durable mat offers easy installation and cushioning for various workouts.
View on Amazon →Garage Floor Mat for Workouts
This heavy-duty PVC mat provides excellent protection and a non-slip surface.
View on Amazon →Adjustable Doorway Pull-Up Bar
This no-screw pull-up bar allows for versatile workouts in tight spaces effortlessly.
View on Amazon →💡 Quick Tips:
- Use a stud finder: Ensure secure mounting by locating wall studs accurately.
- Test your weight: Always check the bar's weight limit before installation.
- Consider height options: Choose an adjustable pull-up bar for varied workout routines.
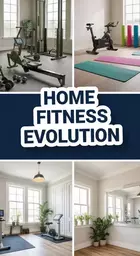
Why DIY Home Gym Builds Consistently Outperform Pre-Built Gym Room Packages
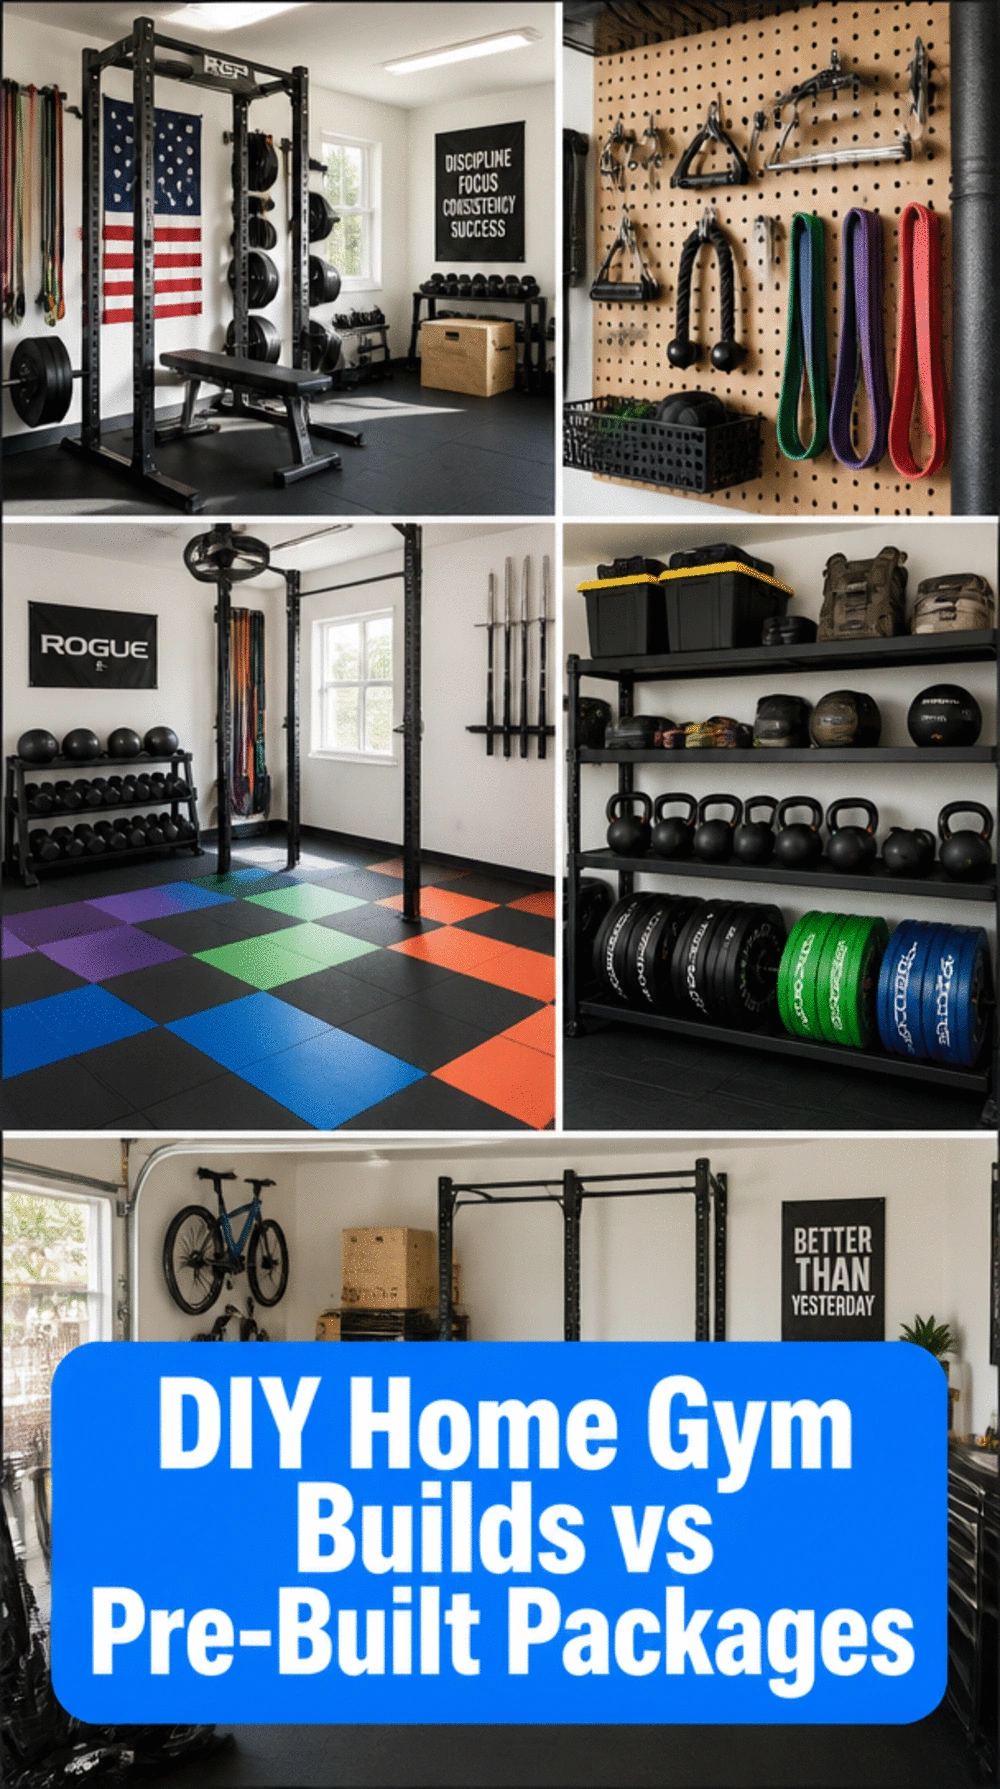
Experience the satisfaction of building your own gym tailored to your needs.
Why DIY Home Gym Builds Matter: When it comes to creating a gym space, DIY builds offer unmatched benefits like customization, cost-effectiveness, and the personal satisfaction of crafting your own space. Unlike pre-built packages, DIY solutions allow you to choose materials and designs that fit both your style and budget, resulting in a gym that feels uniquely yours.
One aspect that often gets overlooked is the flexibility DIY projects provide. Many individuals dive into pre-built options thinking it's the easier route, only to find they don’t suit their specific needs. For example, a friend of mine opted for a pre-fabricated gym unit that turned out too small, leading to frustration. In contrast, DIY enthusiasts can tweak dimensions and features to exactly what they envision, preventing such issues.
- ★Invest in quality materials for durability and safety in your gym setup.
- ★Consider multifunctional equipment, like the Multifunctional Pilates Board, to maximize workout variety.
- ★Always plan your layout to avoid making the space feel cramped.
⭐ Top Products for Your DIY Home Gym
Multifunctional Pilates Board for Home
The multifunctional Pilates board enhances your workout versatility at home, making exercises more effective.
View on Amazon →Multi-Function Push Up Board
This portable board offers multiple workouts, perfect for users who need flexibility in training.
View on Amazon →Heavy Resistance Bands for Training
These versatile bands are great for resistance training, enhancing your DIY gym experience.
View on Amazon →💡 Quick Tips:
- Embrace Customization: Tailor your gym layout and equipment to fit your unique workout needs.
- Prioritize Quality: Invest in durable materials that enhance safety and longevity in your gym setup.
- Learn as You Go: Overcome challenges by experimenting; each project improves your DIY skills!
You now have seven practical strategies to transform your space into a functional home gym. Choose just one or two that resonate with you to begin your journey towards a personalized workout haven.
With each thoughtful adjustment, your workout environment will become a reflection of your unique needs and preferences. Embrace the process, and know that every small step contributes to a space that inspires you.